e) ATS Settings
If you have integrated Brainner with your ATS, you can configure in the settings whether you want to receive jobs and/or candidates automatically. Your selected configuration will determine how your workflow operates.
How to Configure Your ATS Preferences
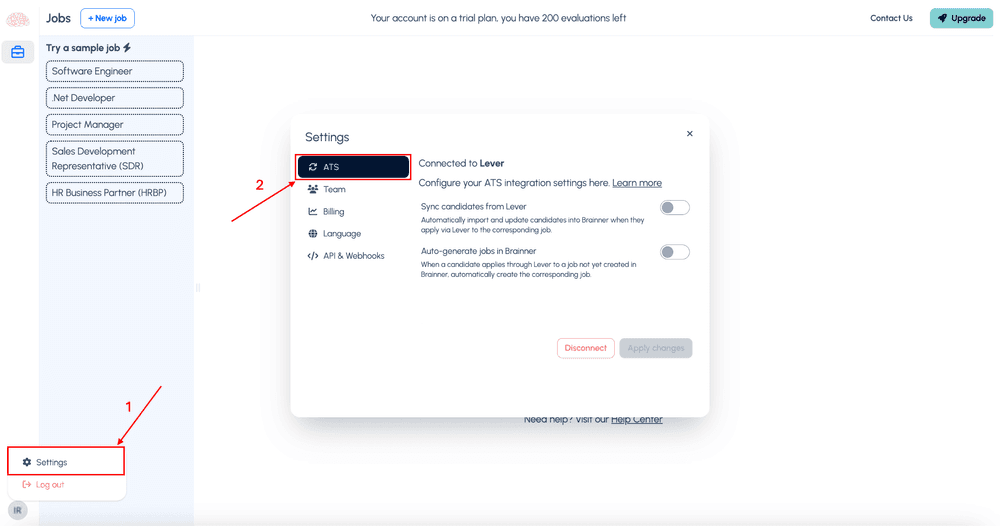
1. Click on your profile icon and select Settings.
2. Choose your preferred configuration and click Apply Changes. Below are the different configuration scenarios:
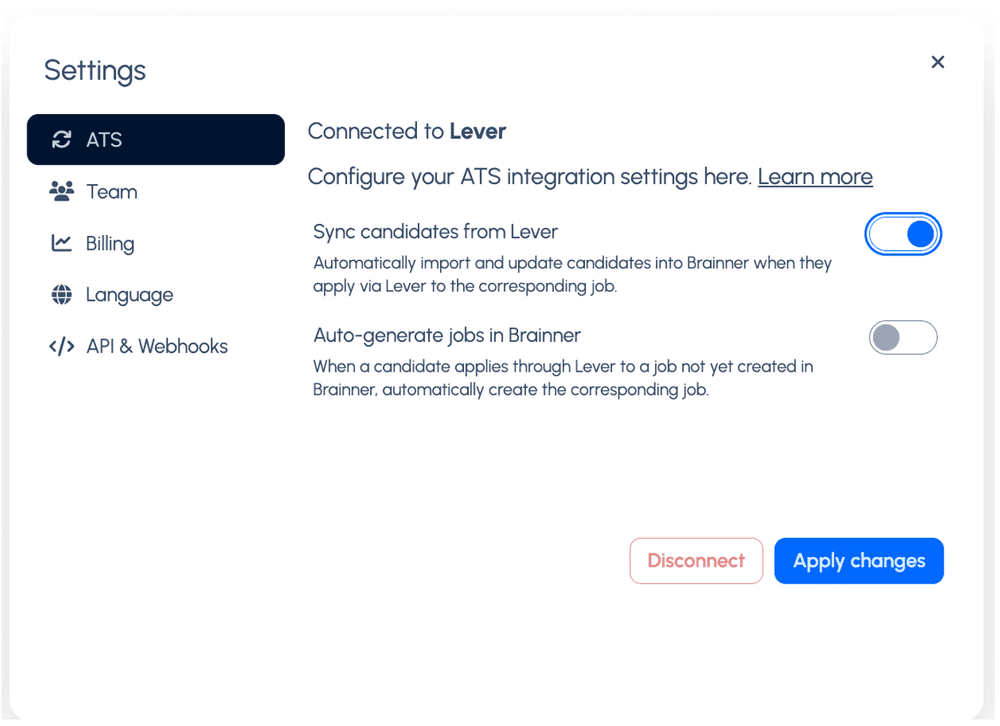
a) Sync Candidates enabled / Auto-generate jobs disabled (Recommended)
- You can manually import jobs while ensuring candidates are automatically received only for those jobs.
- This setup allows you to control which jobs to import and when, ensuring all criteria are set before candidates start applying.
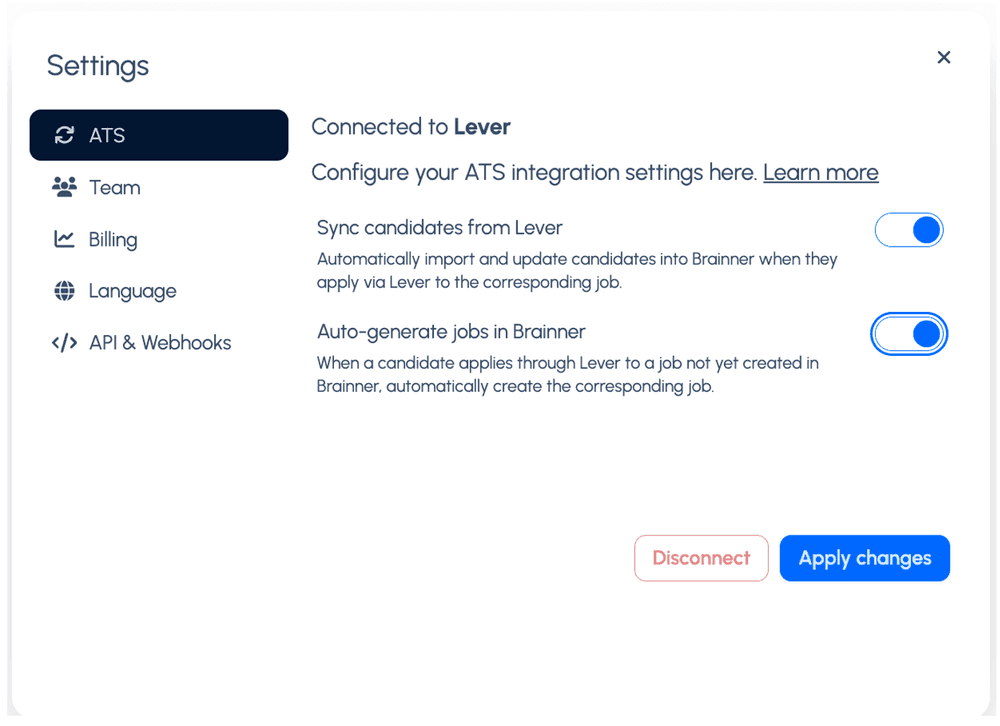
b) Sync Candidates enabled / Auto-generate jobs enabled
- Jobs and candidates are created automatically in Brainner.
- The job is generated when the first candidate applies—unless you have already created the job manually.
- If you want to adjust the criteria set by Brainner, you will need to reprocess all previously applied candidates.
c) Sync Candidates disabled / Auto-generate jobs disabled
- You must manually import both jobs and candidates, as neither will be imported automatically.
- This setup is recommended if you have budget constraints and need full control over volume.
- Synchronization of ATS stages will be disabled in this mode.
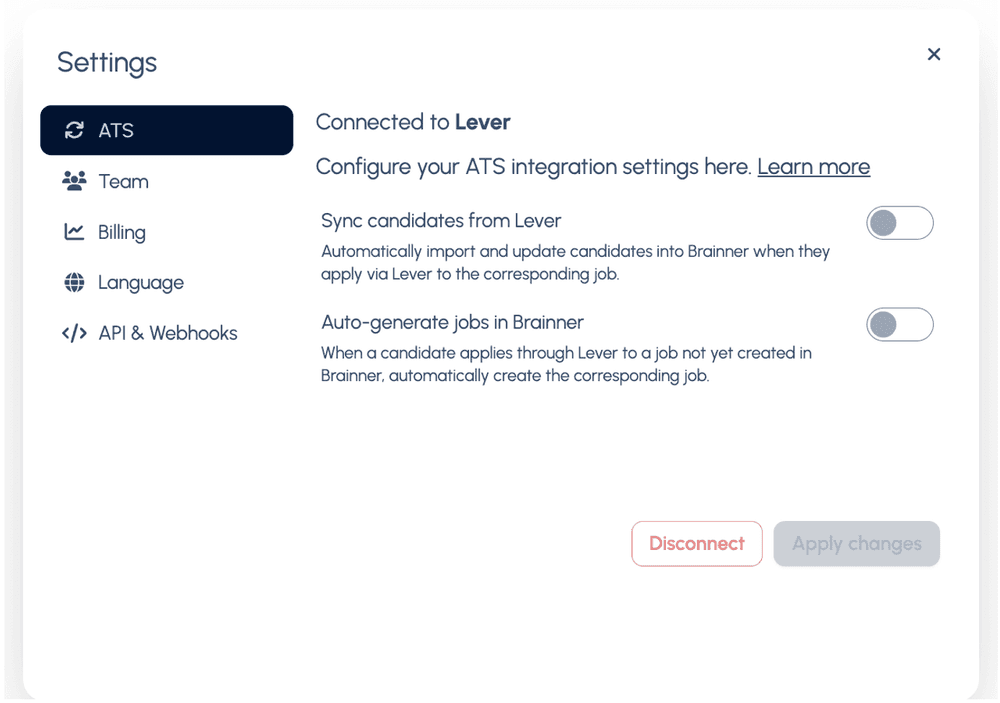
Additional setting for Lever Users
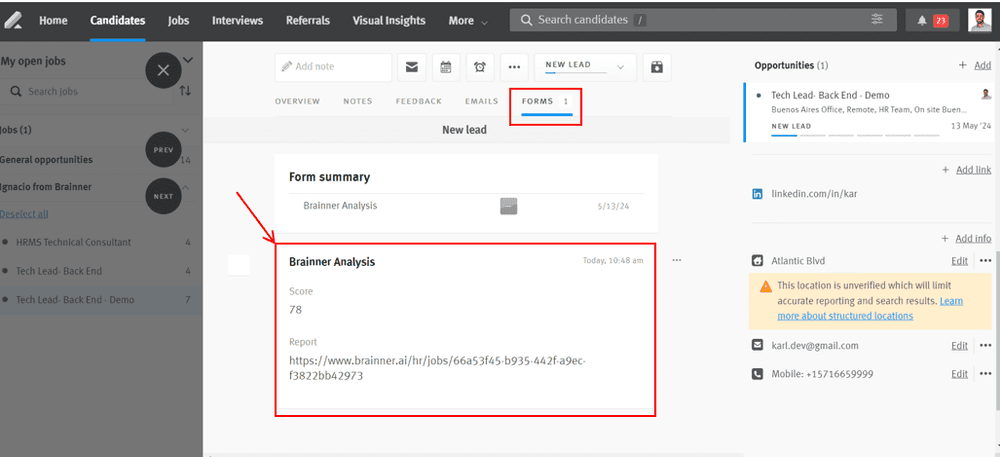
If you are a Lever user, you will see an additional setting: "Push evaluation results to Lever Profiles." Enabling this option will send the candidate’s score and a link to their Brainner report directly to their Lever profile.
In Lever, under the "Forms" tab of the candidate’s profile, you will find the score provided by Brainner along with a link to the full report.
*Note: We recommend disabling Lever’s form update notifications, as keeping them enabled will result in an email notification for each Brainner analysis.
